Import Single Voucher - Step-by-Step Guide
This guide walks you through the process of importing single vouchers into the finance system using Excel templates.
Prerequisites
- Access to the Finance module
- Appropriate user permissions for voucher management
- Excel software for editing templates
Step-by-Step Process
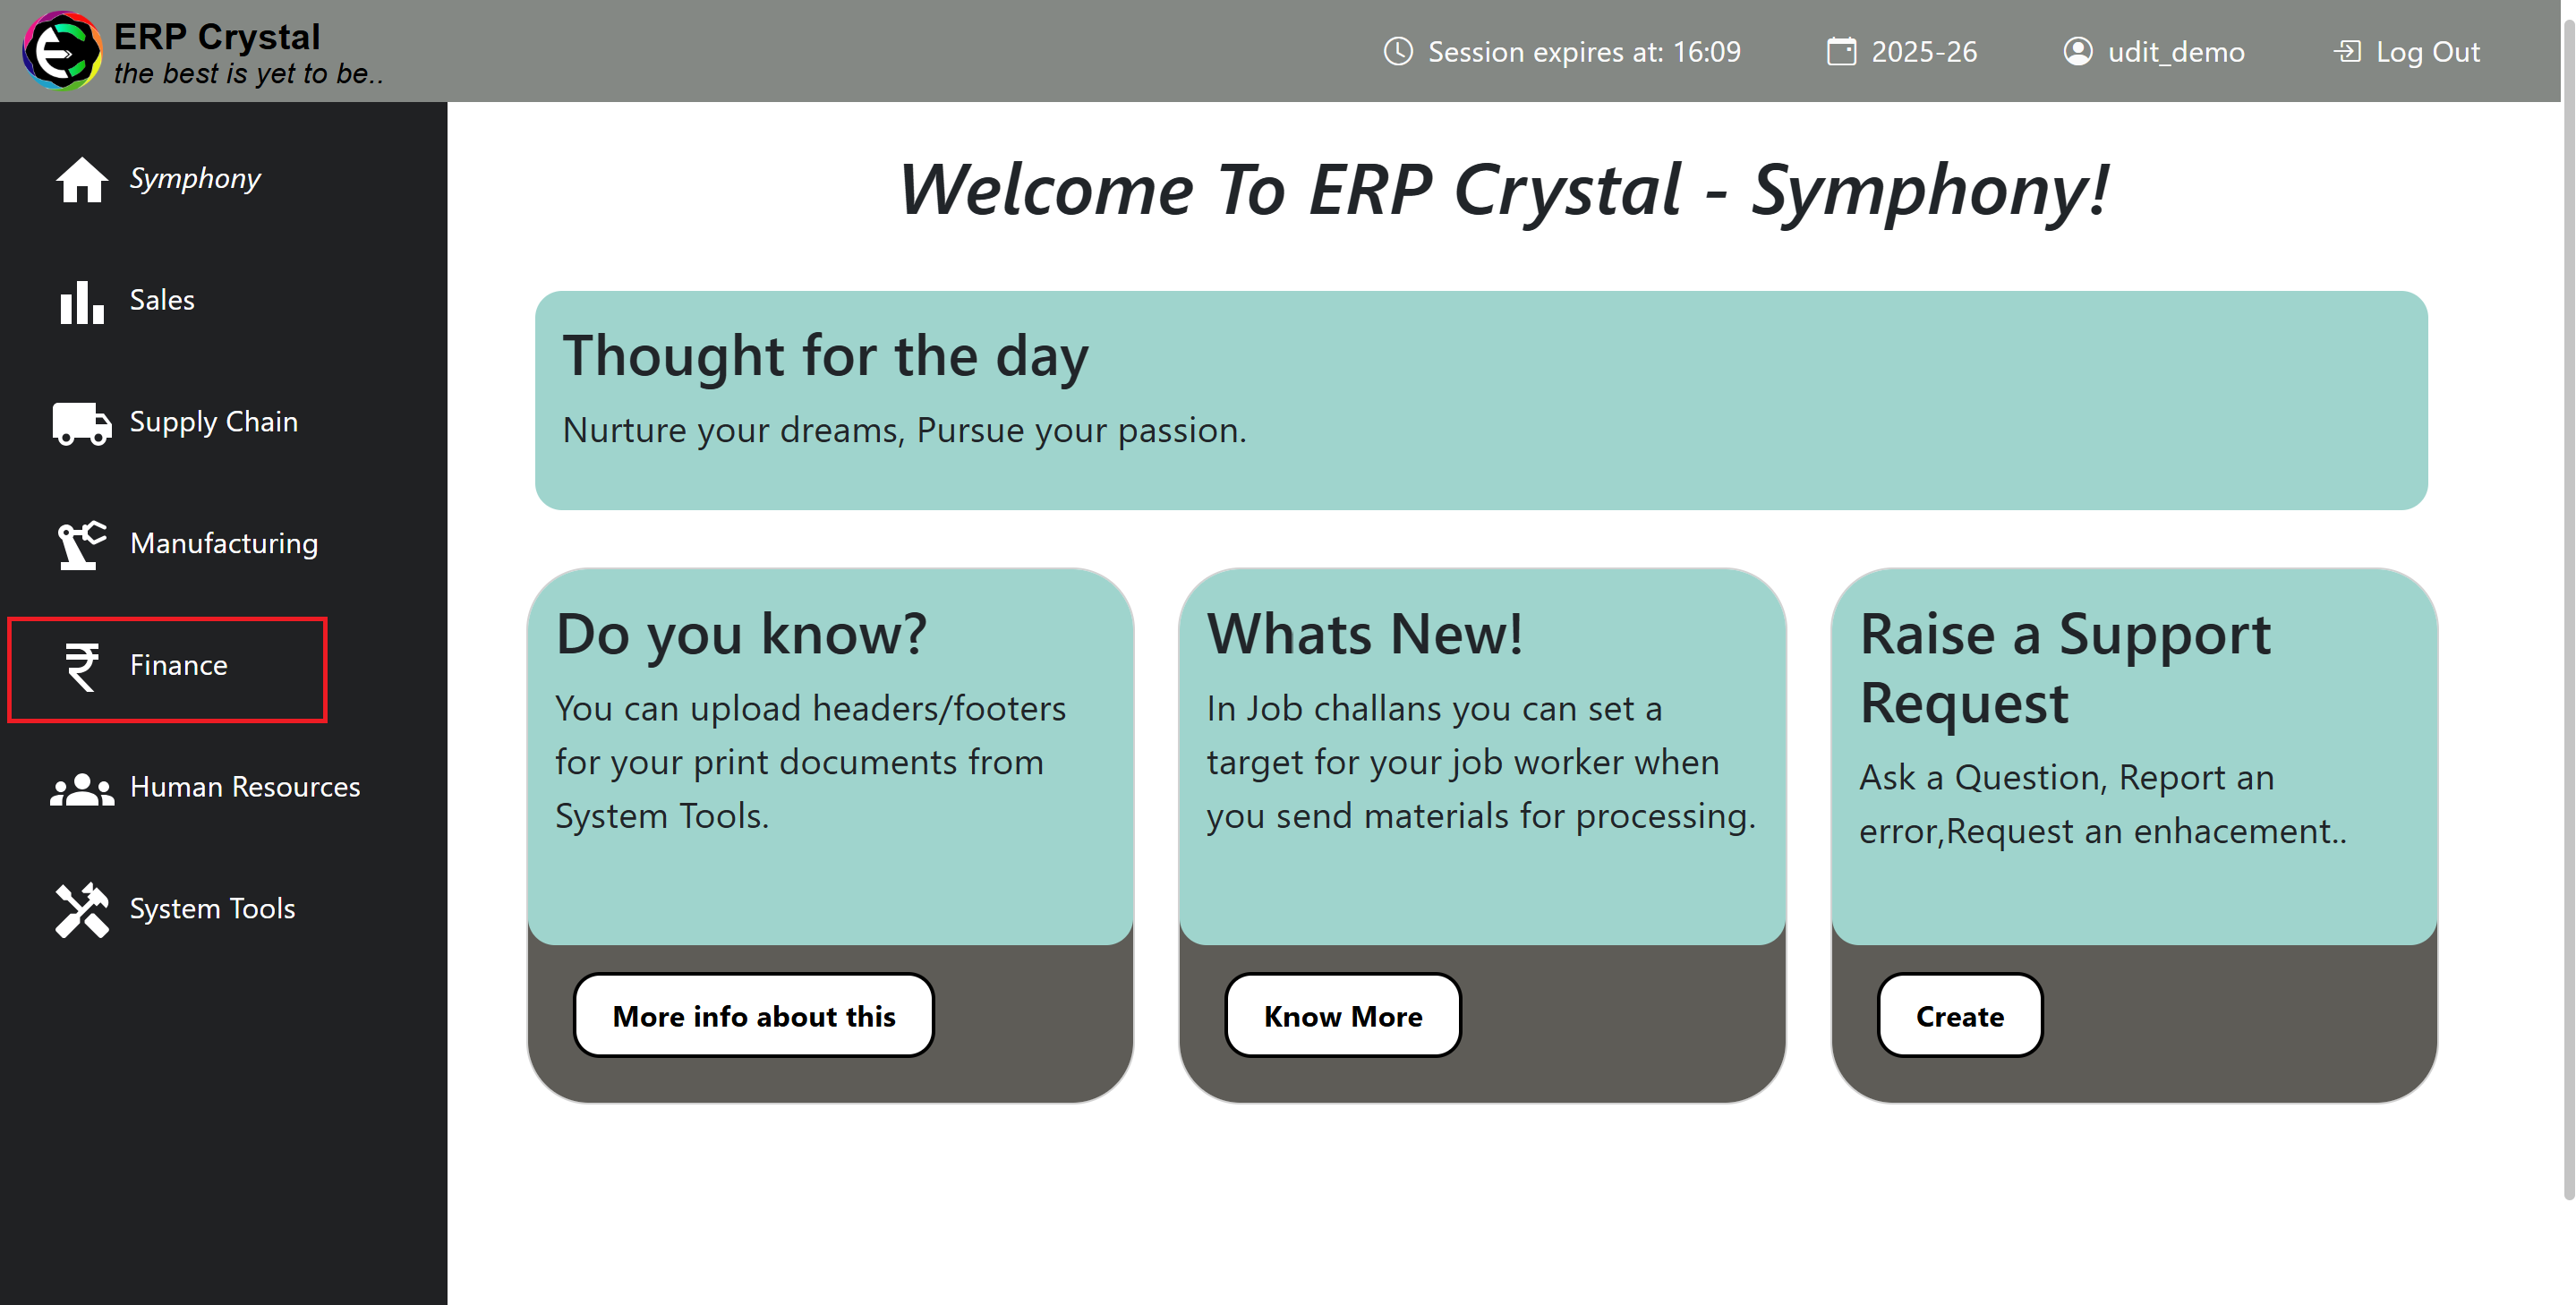
Step 1: Access Finance Module
-
Navigate to and click on Finance from the main menu
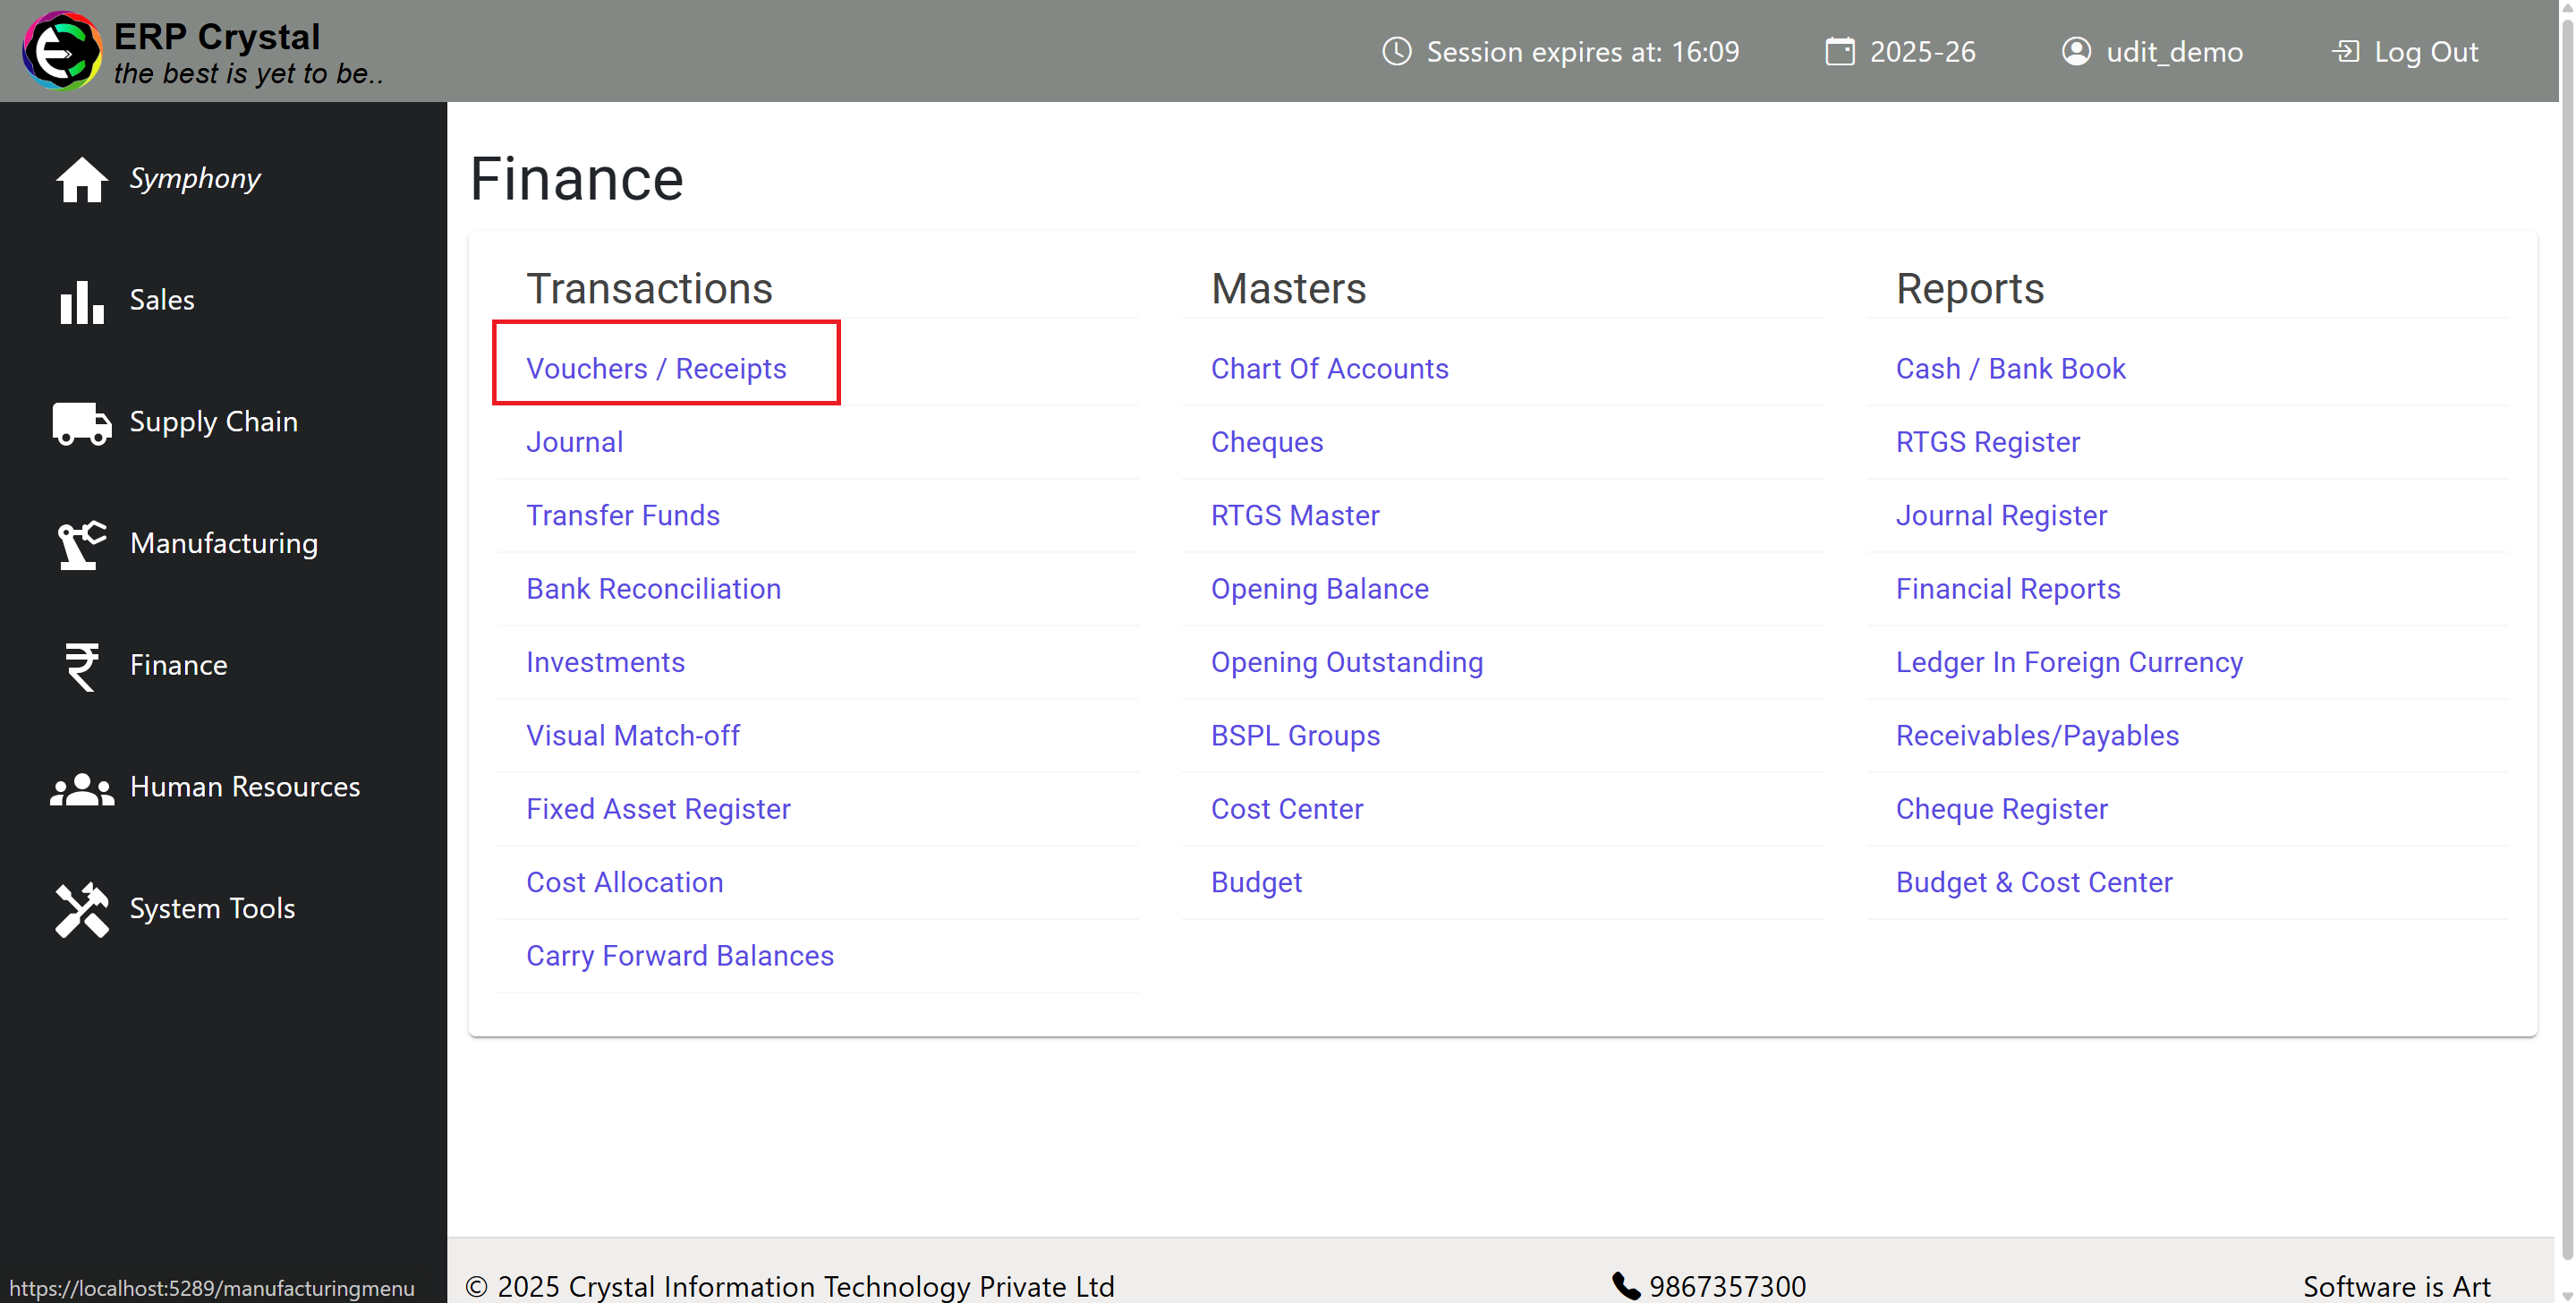
Step 2: Open Voucher Management
-
Click on Voucher / Receipt from the Finance menu
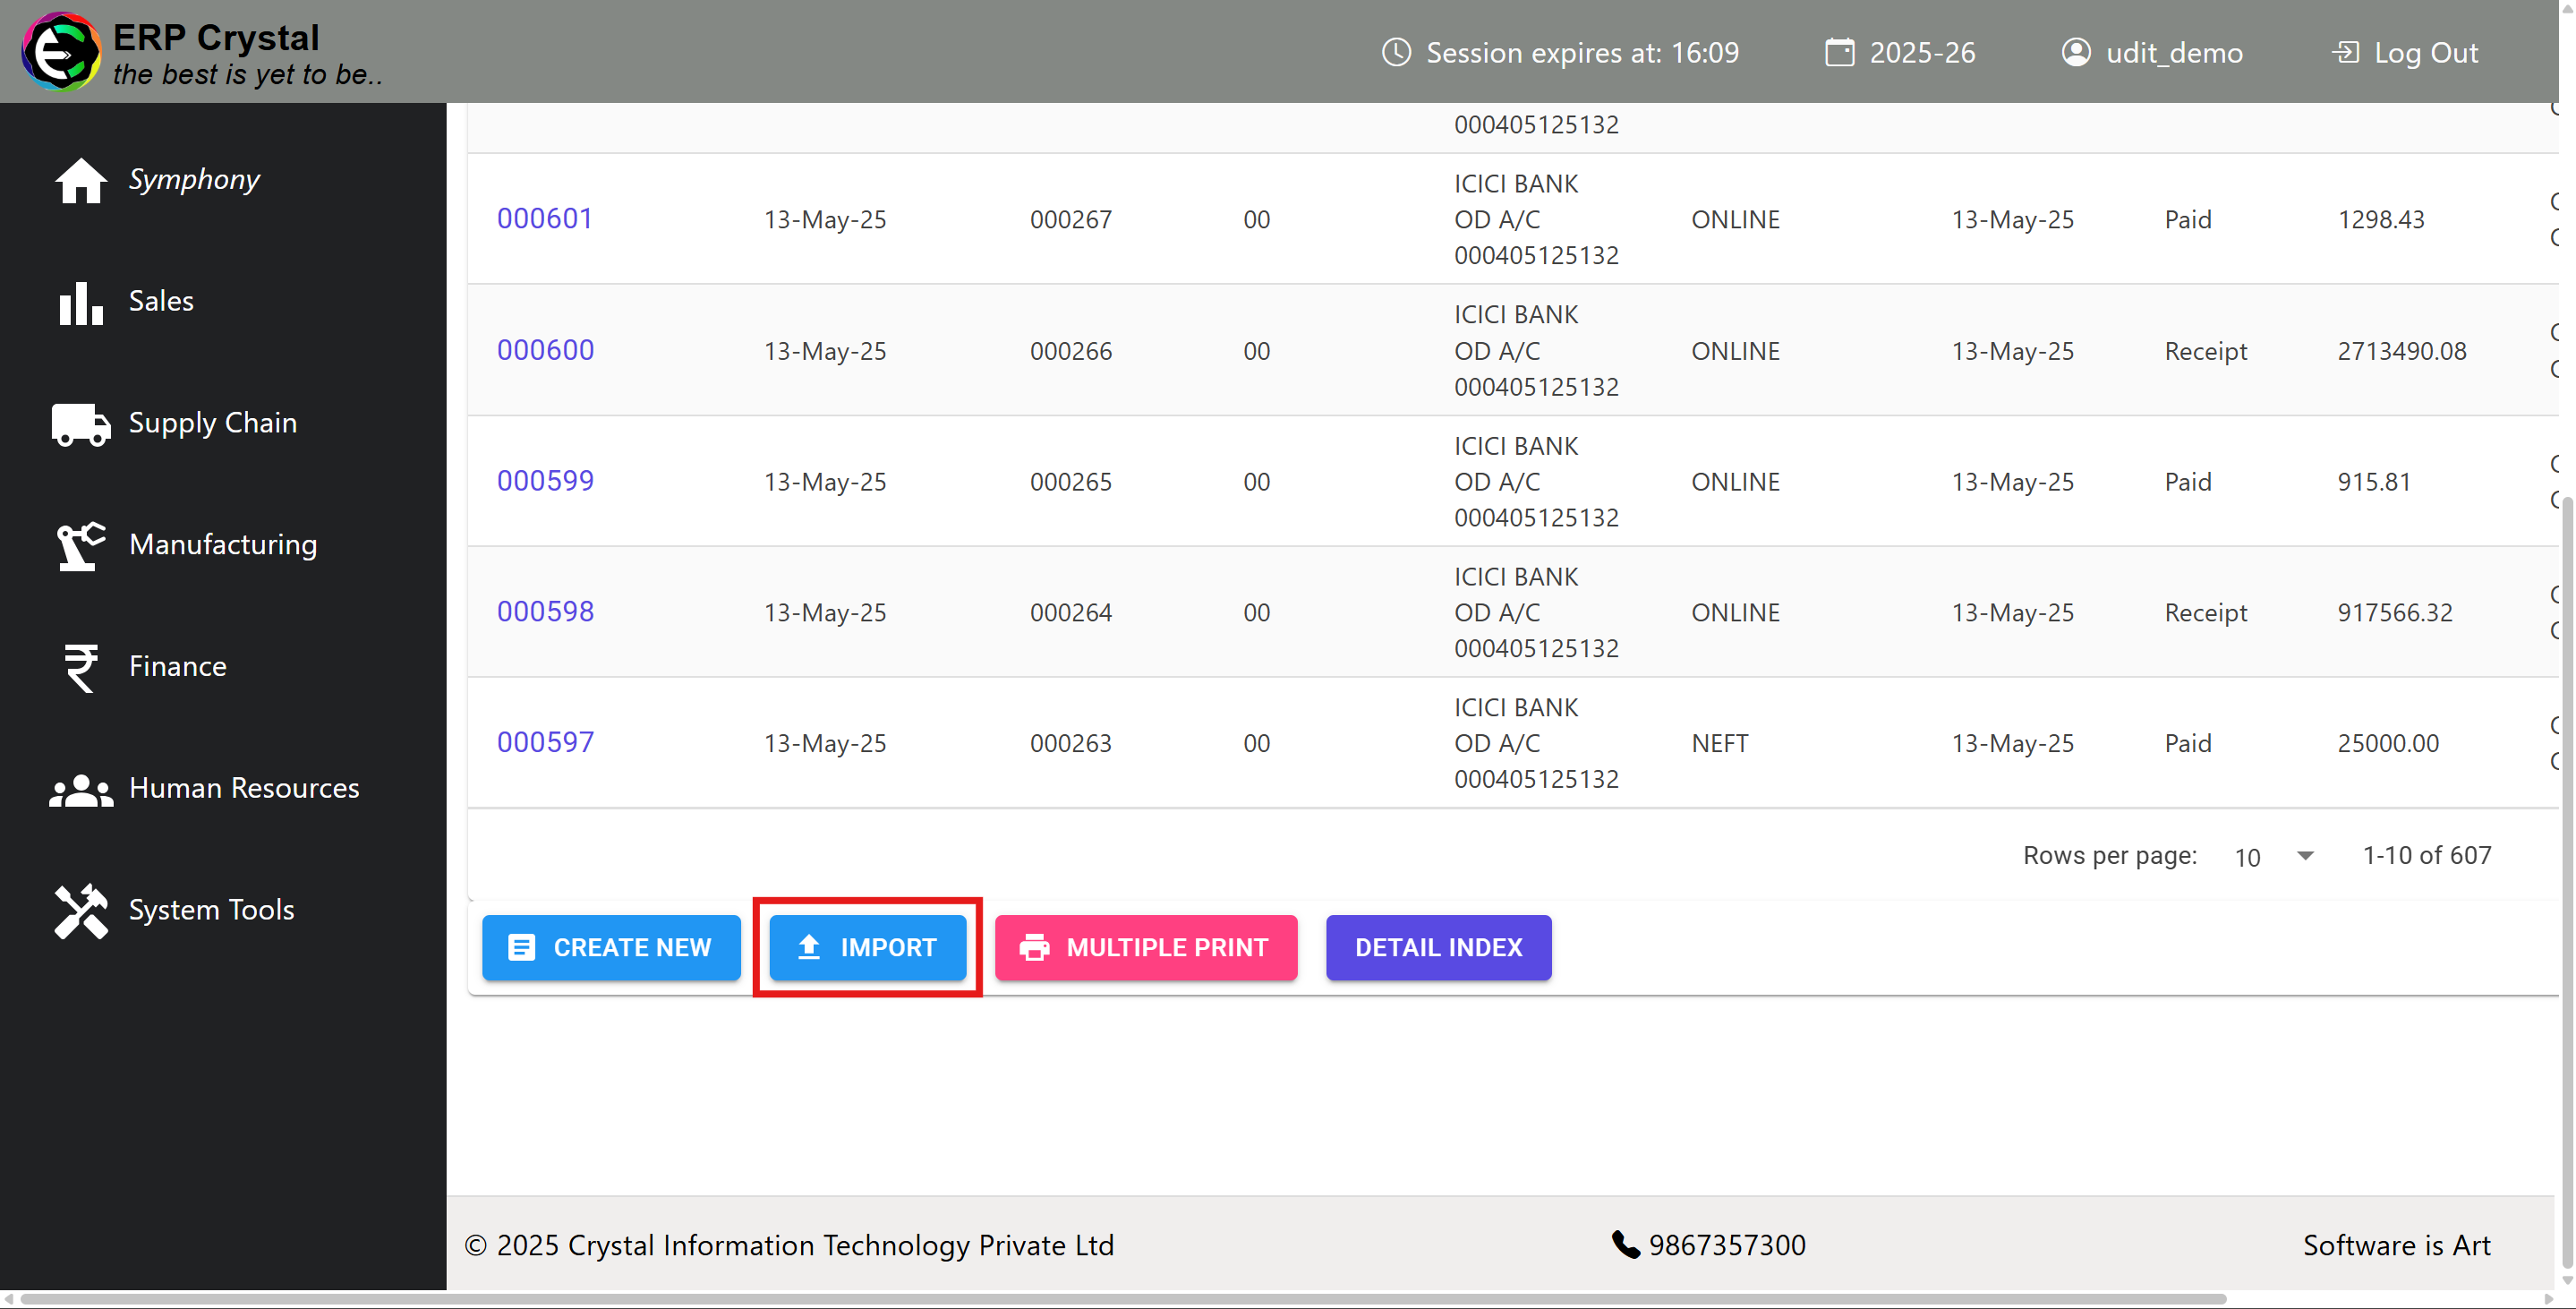
Step 3: Access Import Function
-
The Voucher / Receipt index page will open. Click on Import to begin the import process
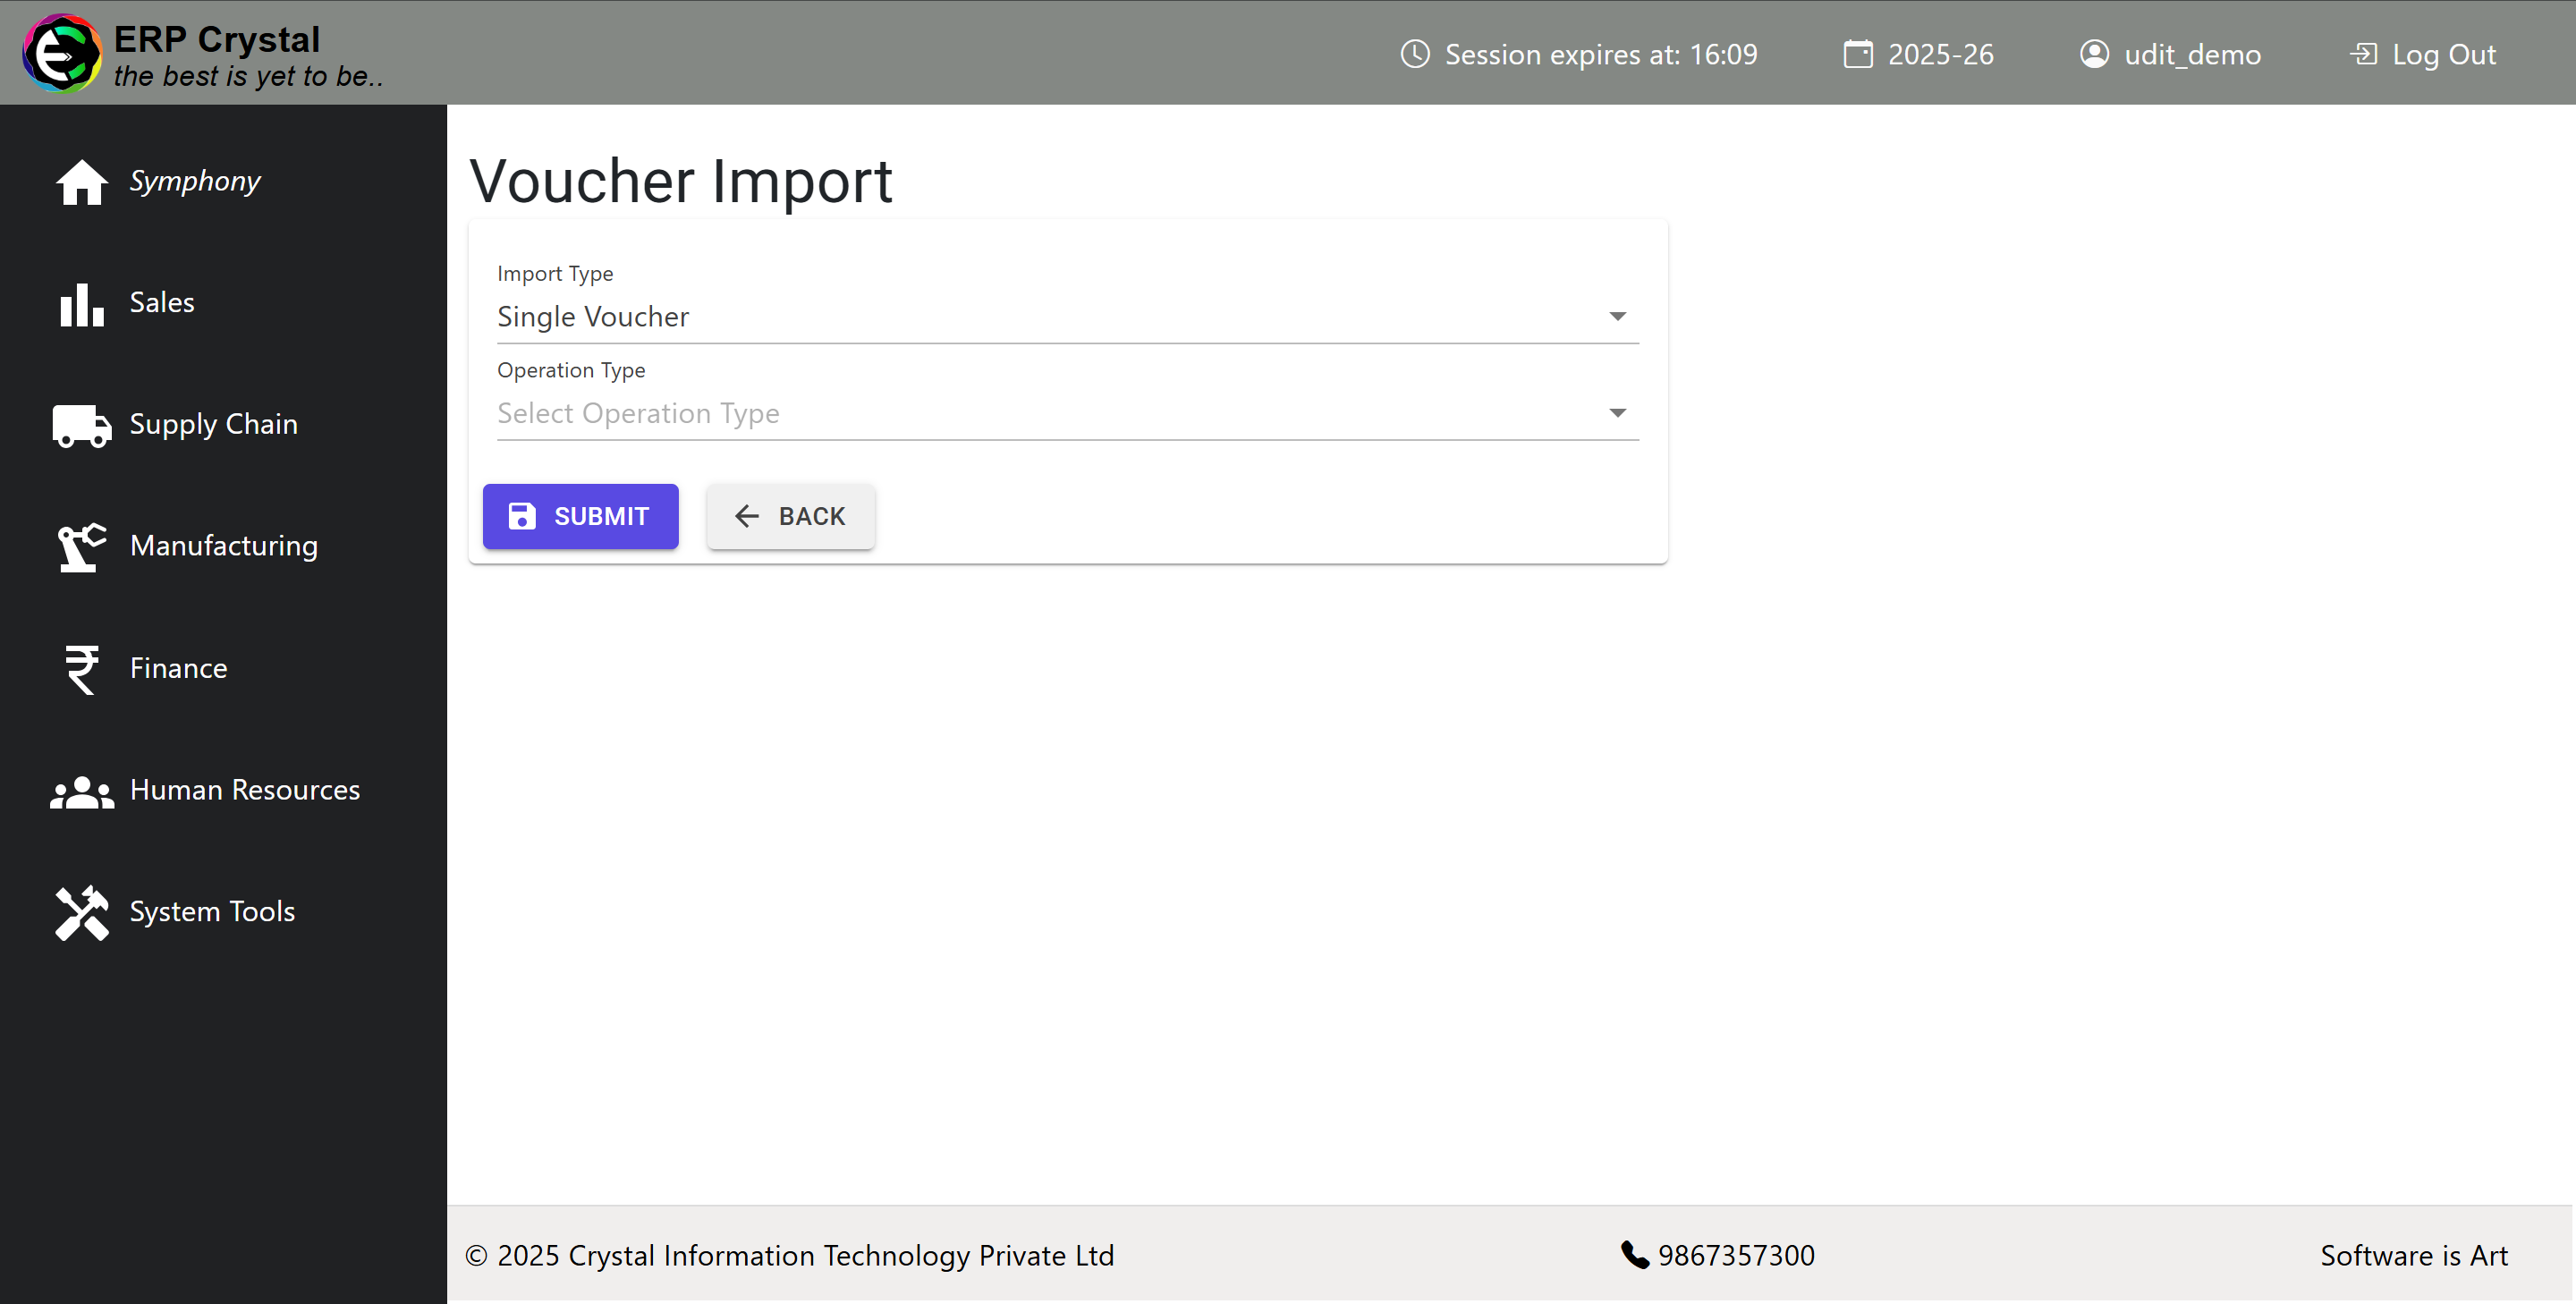
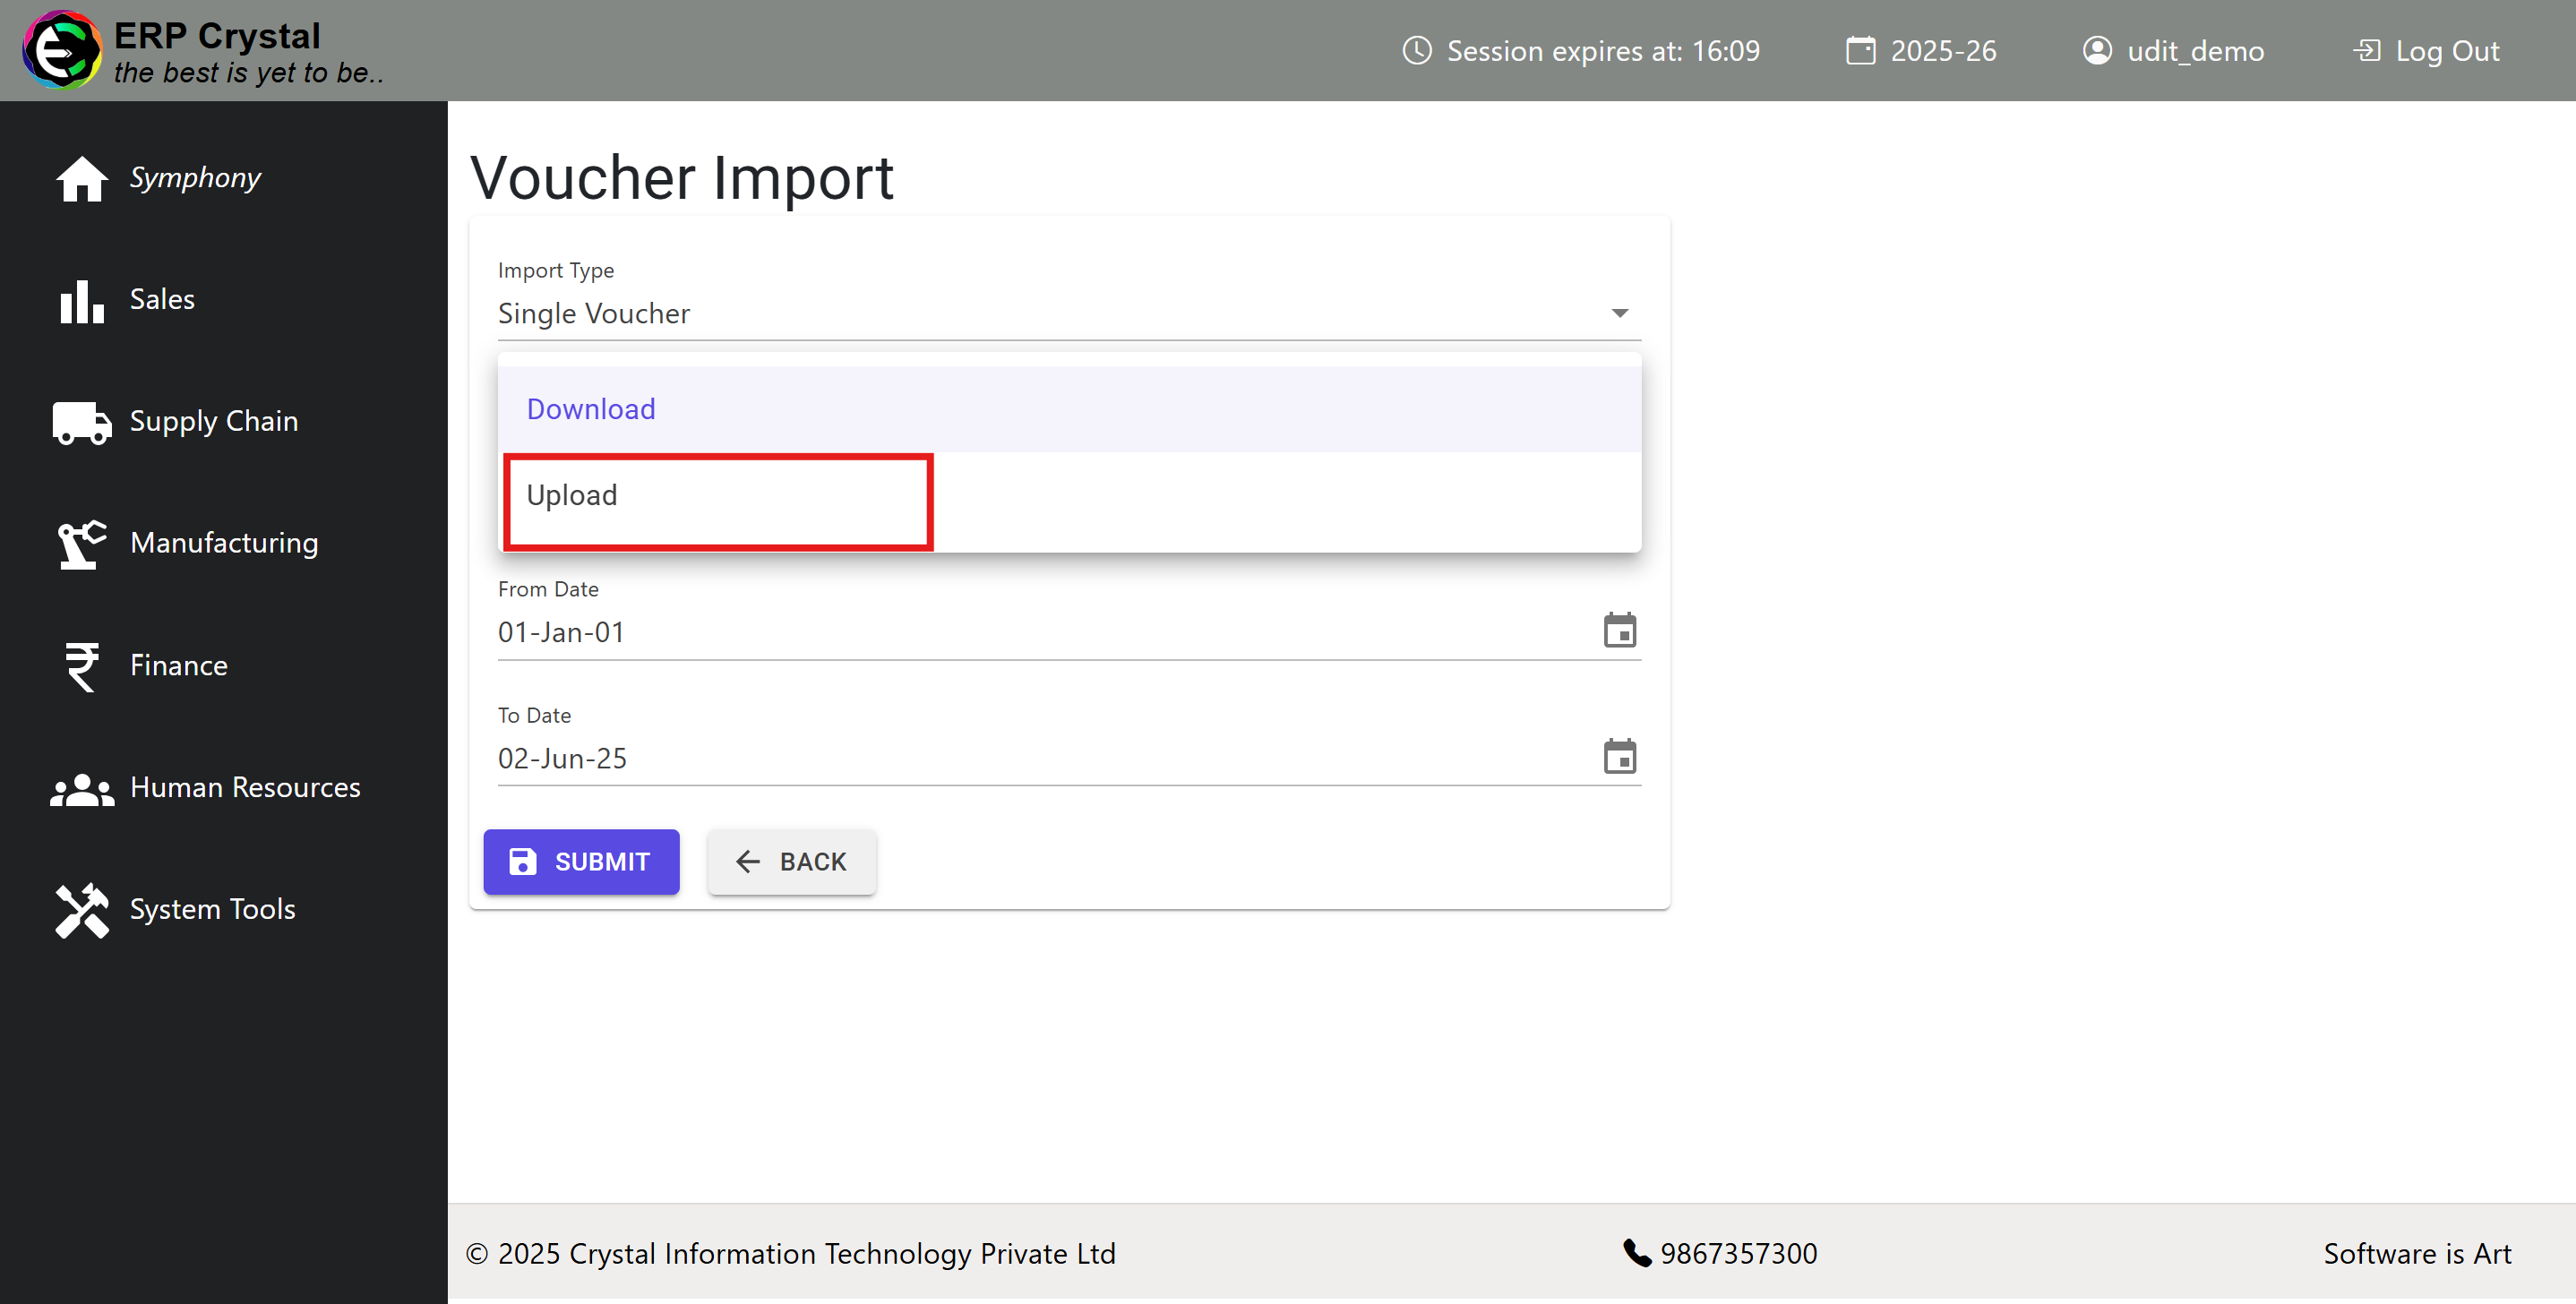
Step 4: Configure Import Settings
-
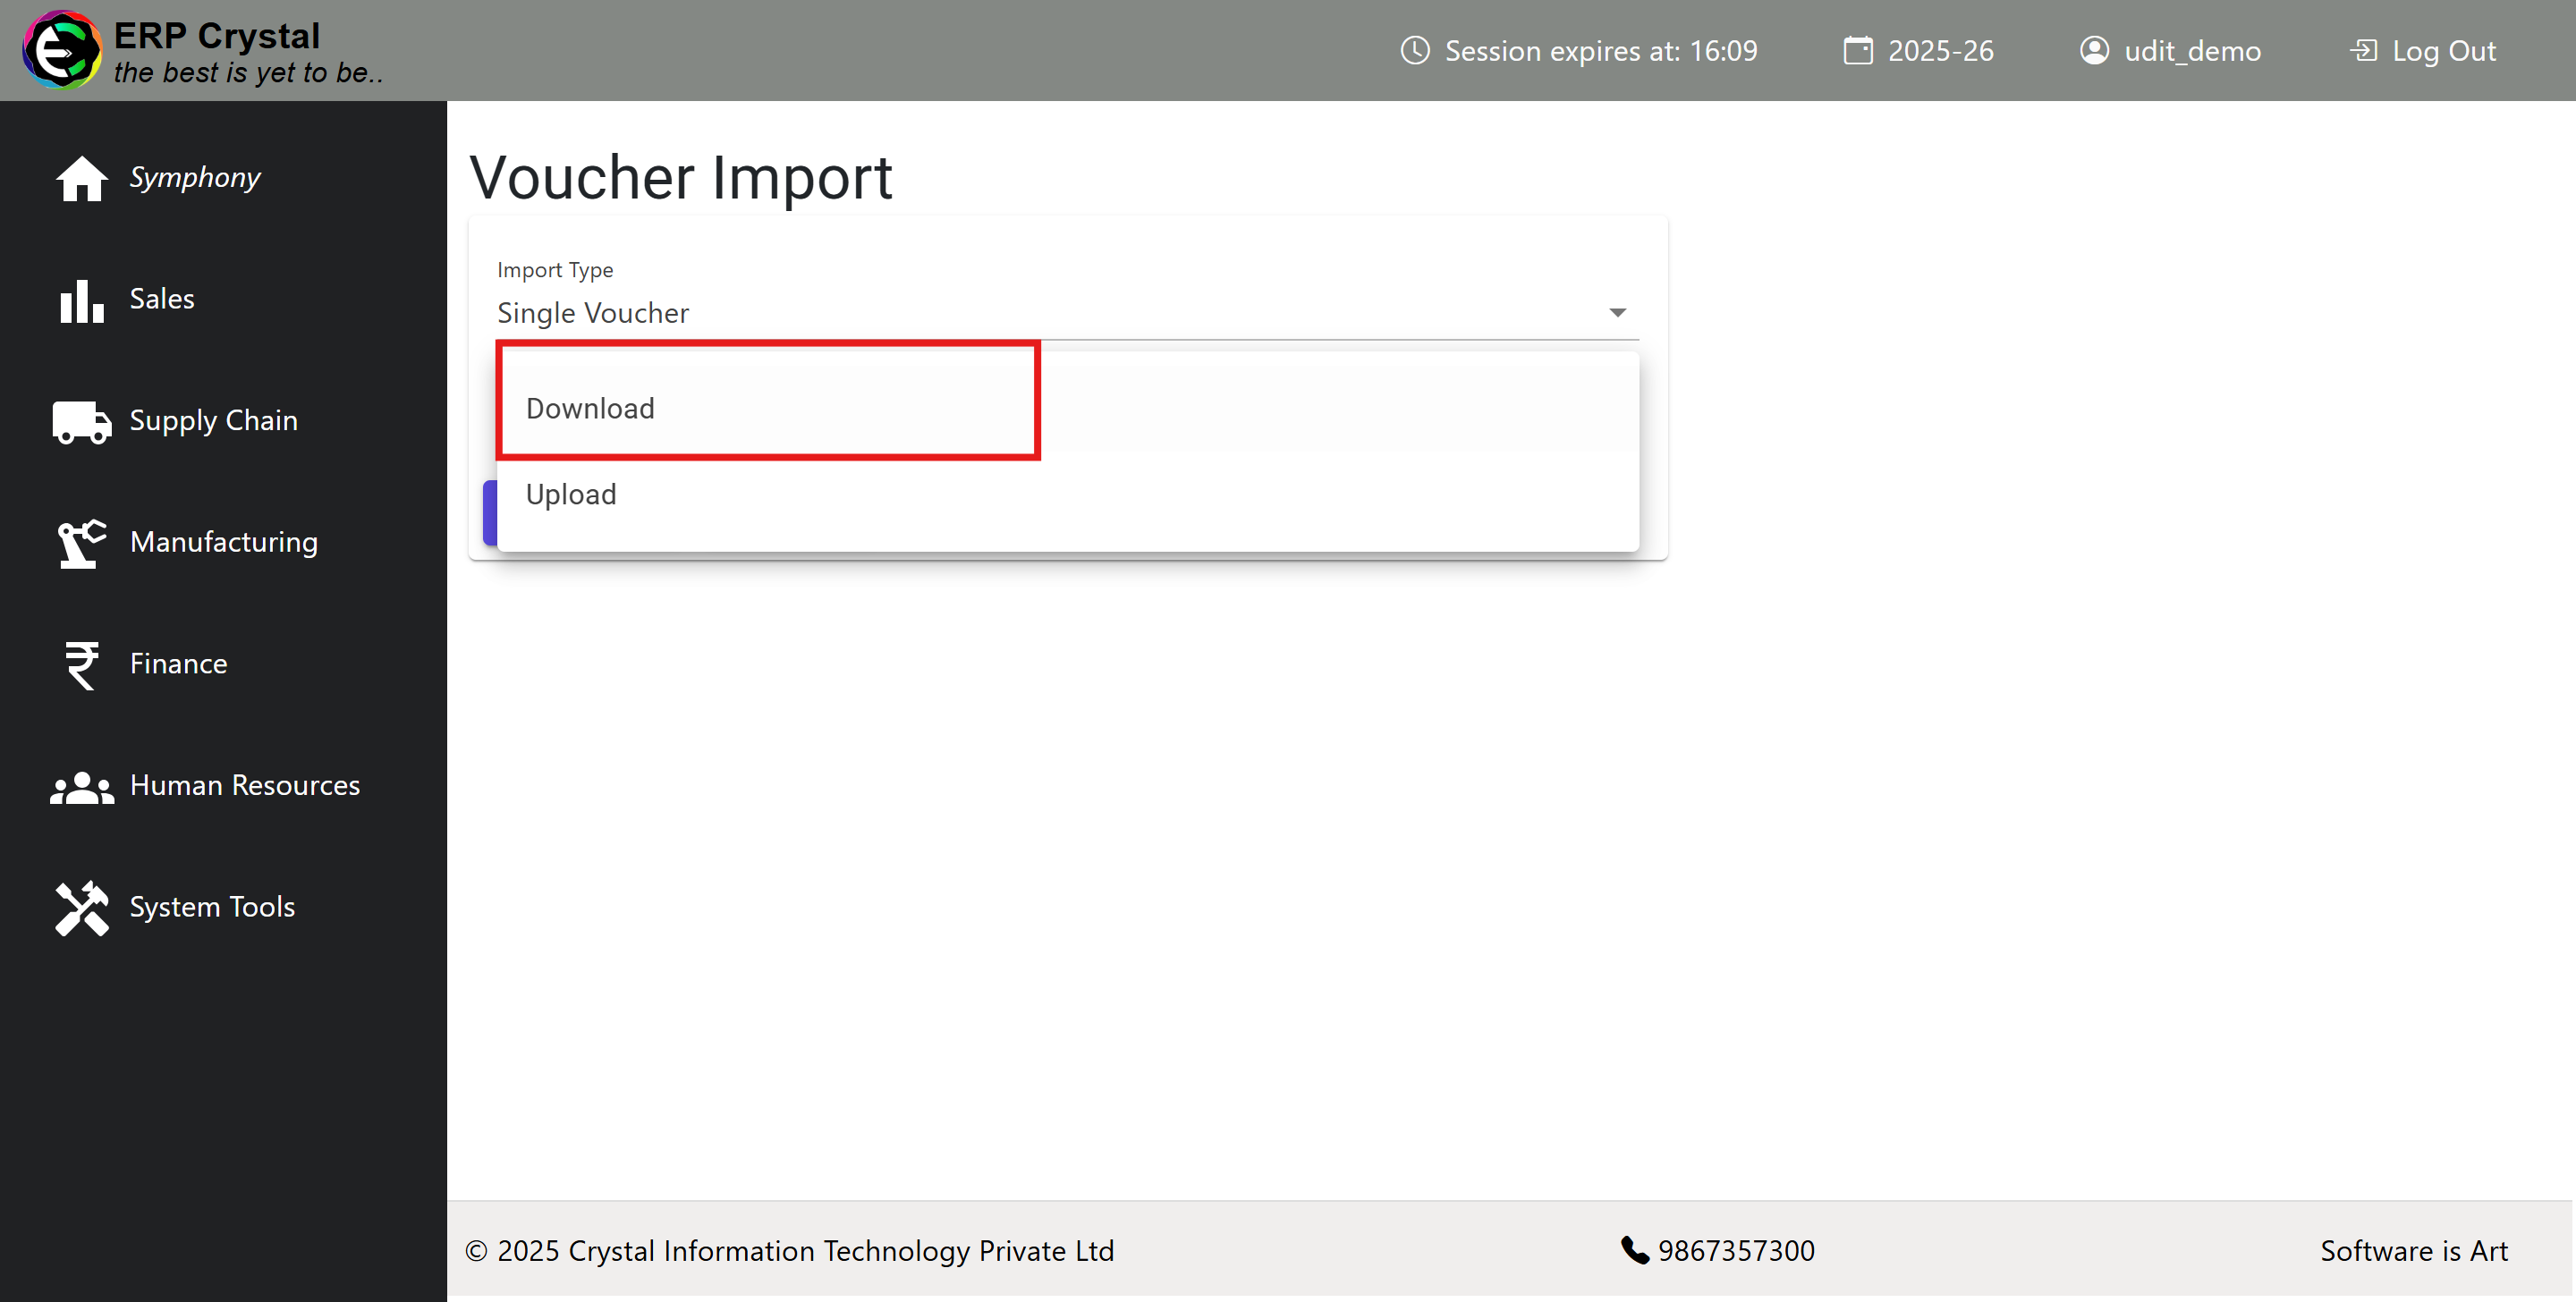
The Voucher Import page will open with Single Voucher Import type selected by default
Template Download Process
Step 5: Select Download Operation
-
Select the Operation type as Download to get a pre-filled Excel template
Step 6: Configure Template Parameters
-
Fill in the following fields:
-
Party Name: Select the appropriate party.
-
Date Range: Specify the date range to scan for pending payments.
-
After entering the required information, click Submit to download the pre-filled Excel template.
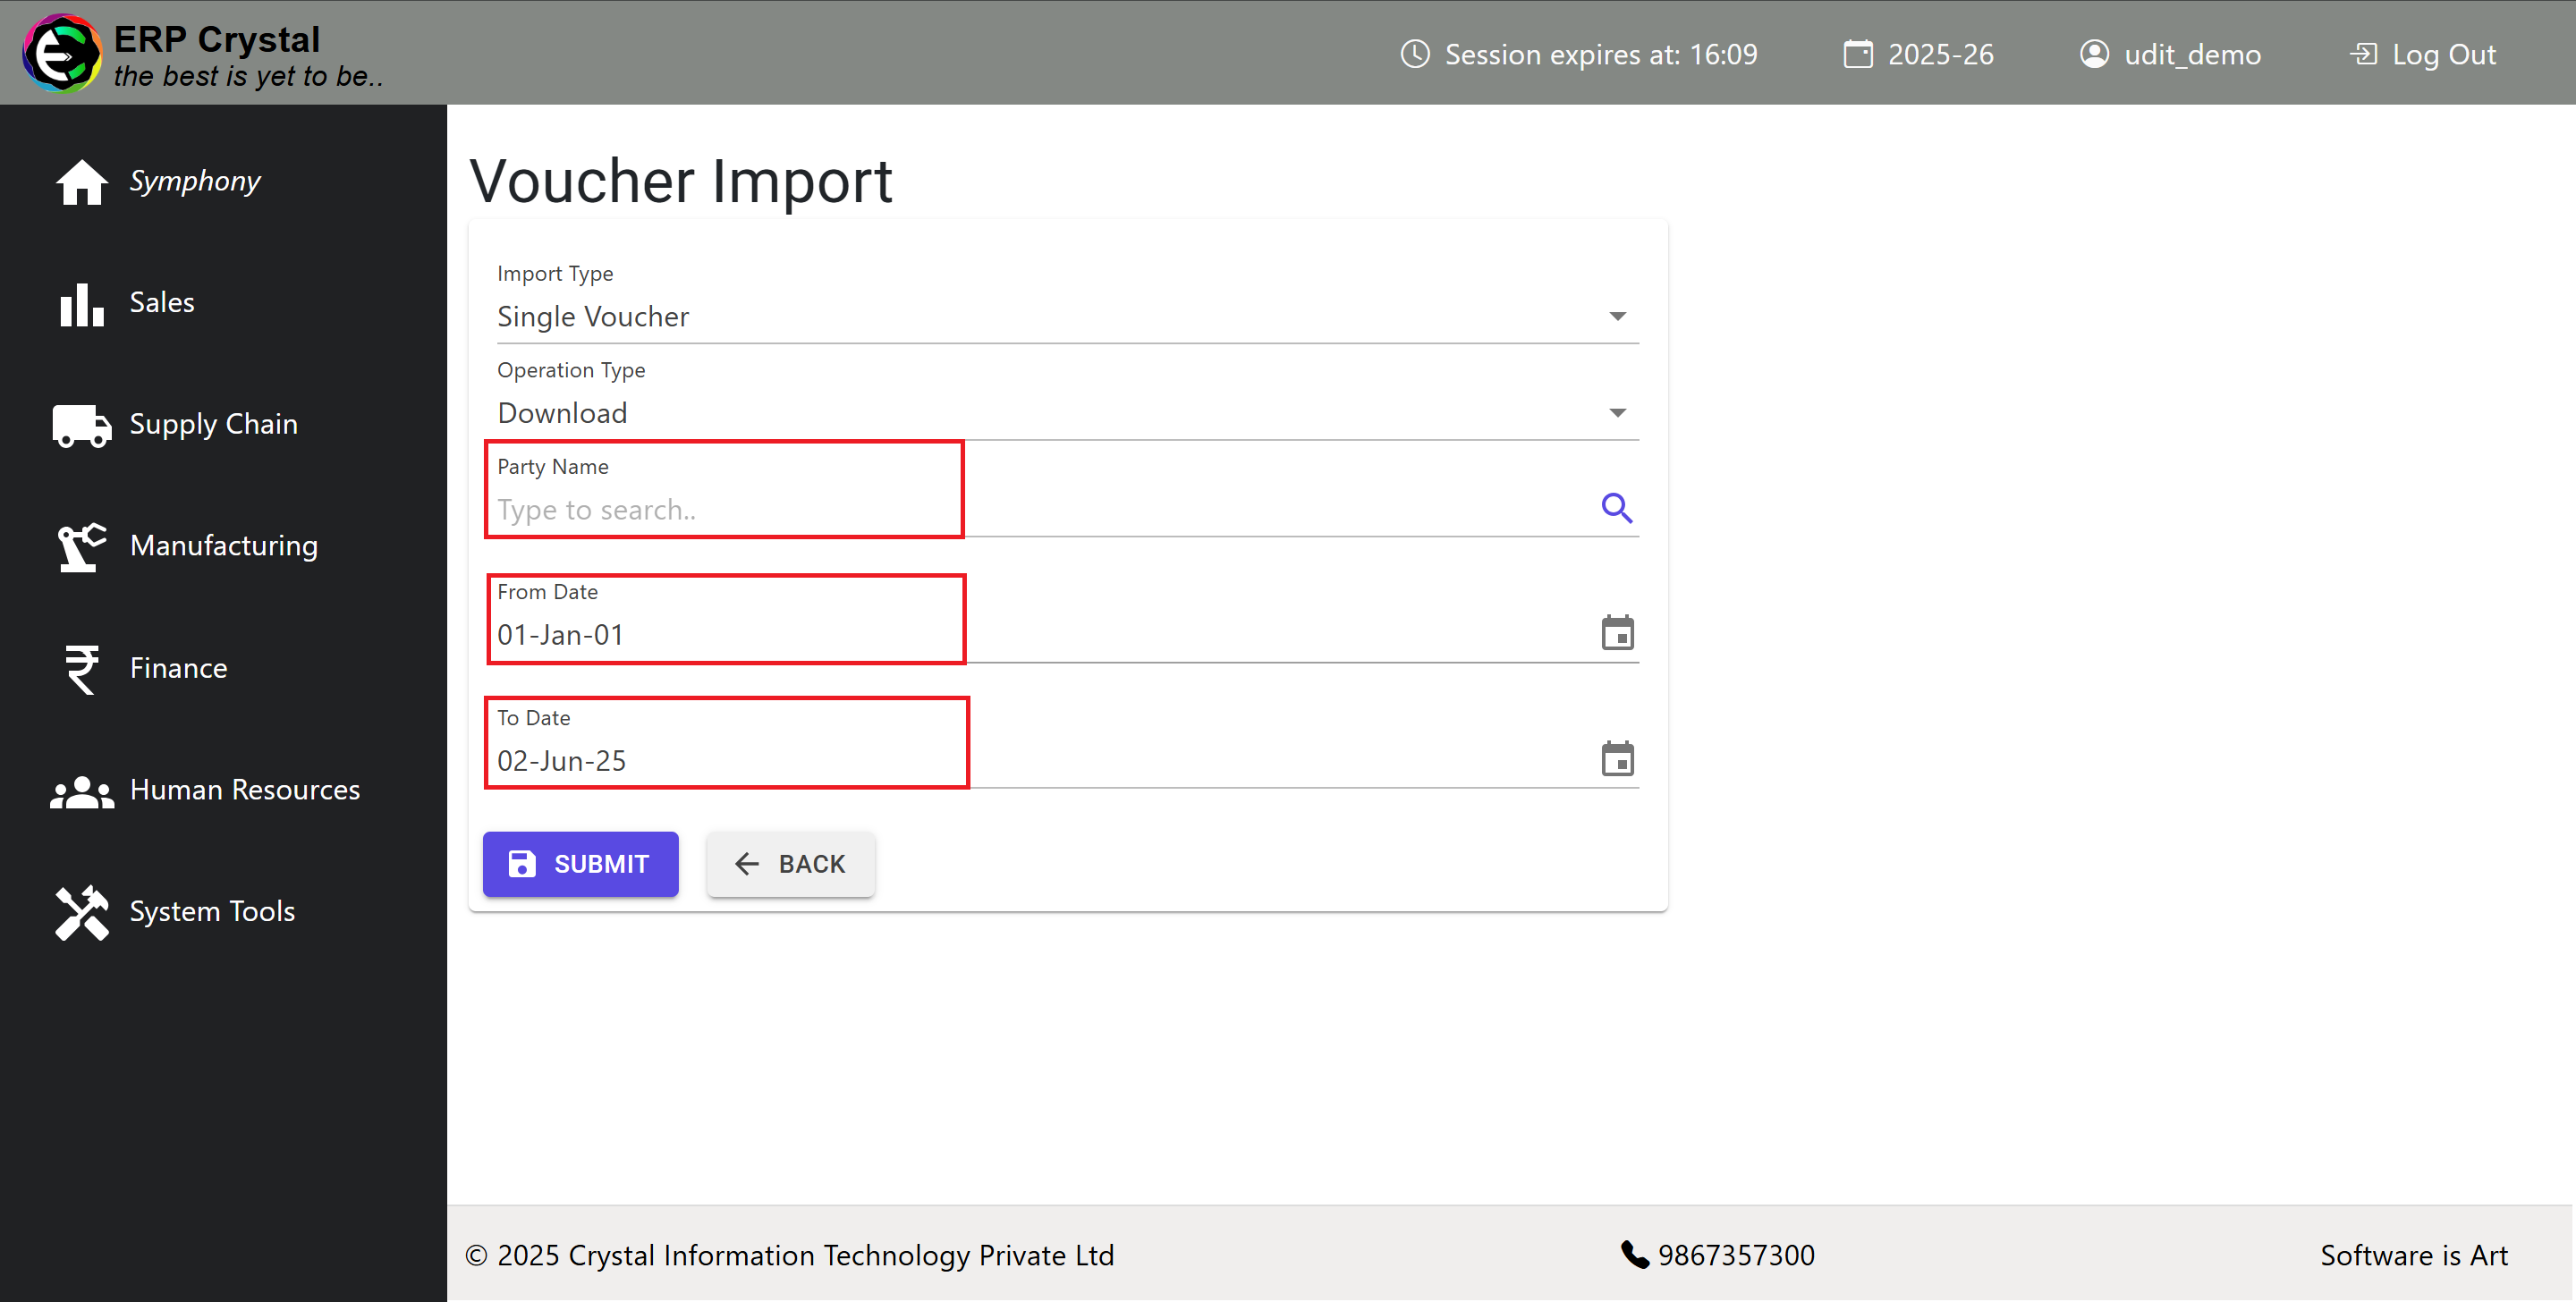
- The data will be downloaded as an Excel file.
-
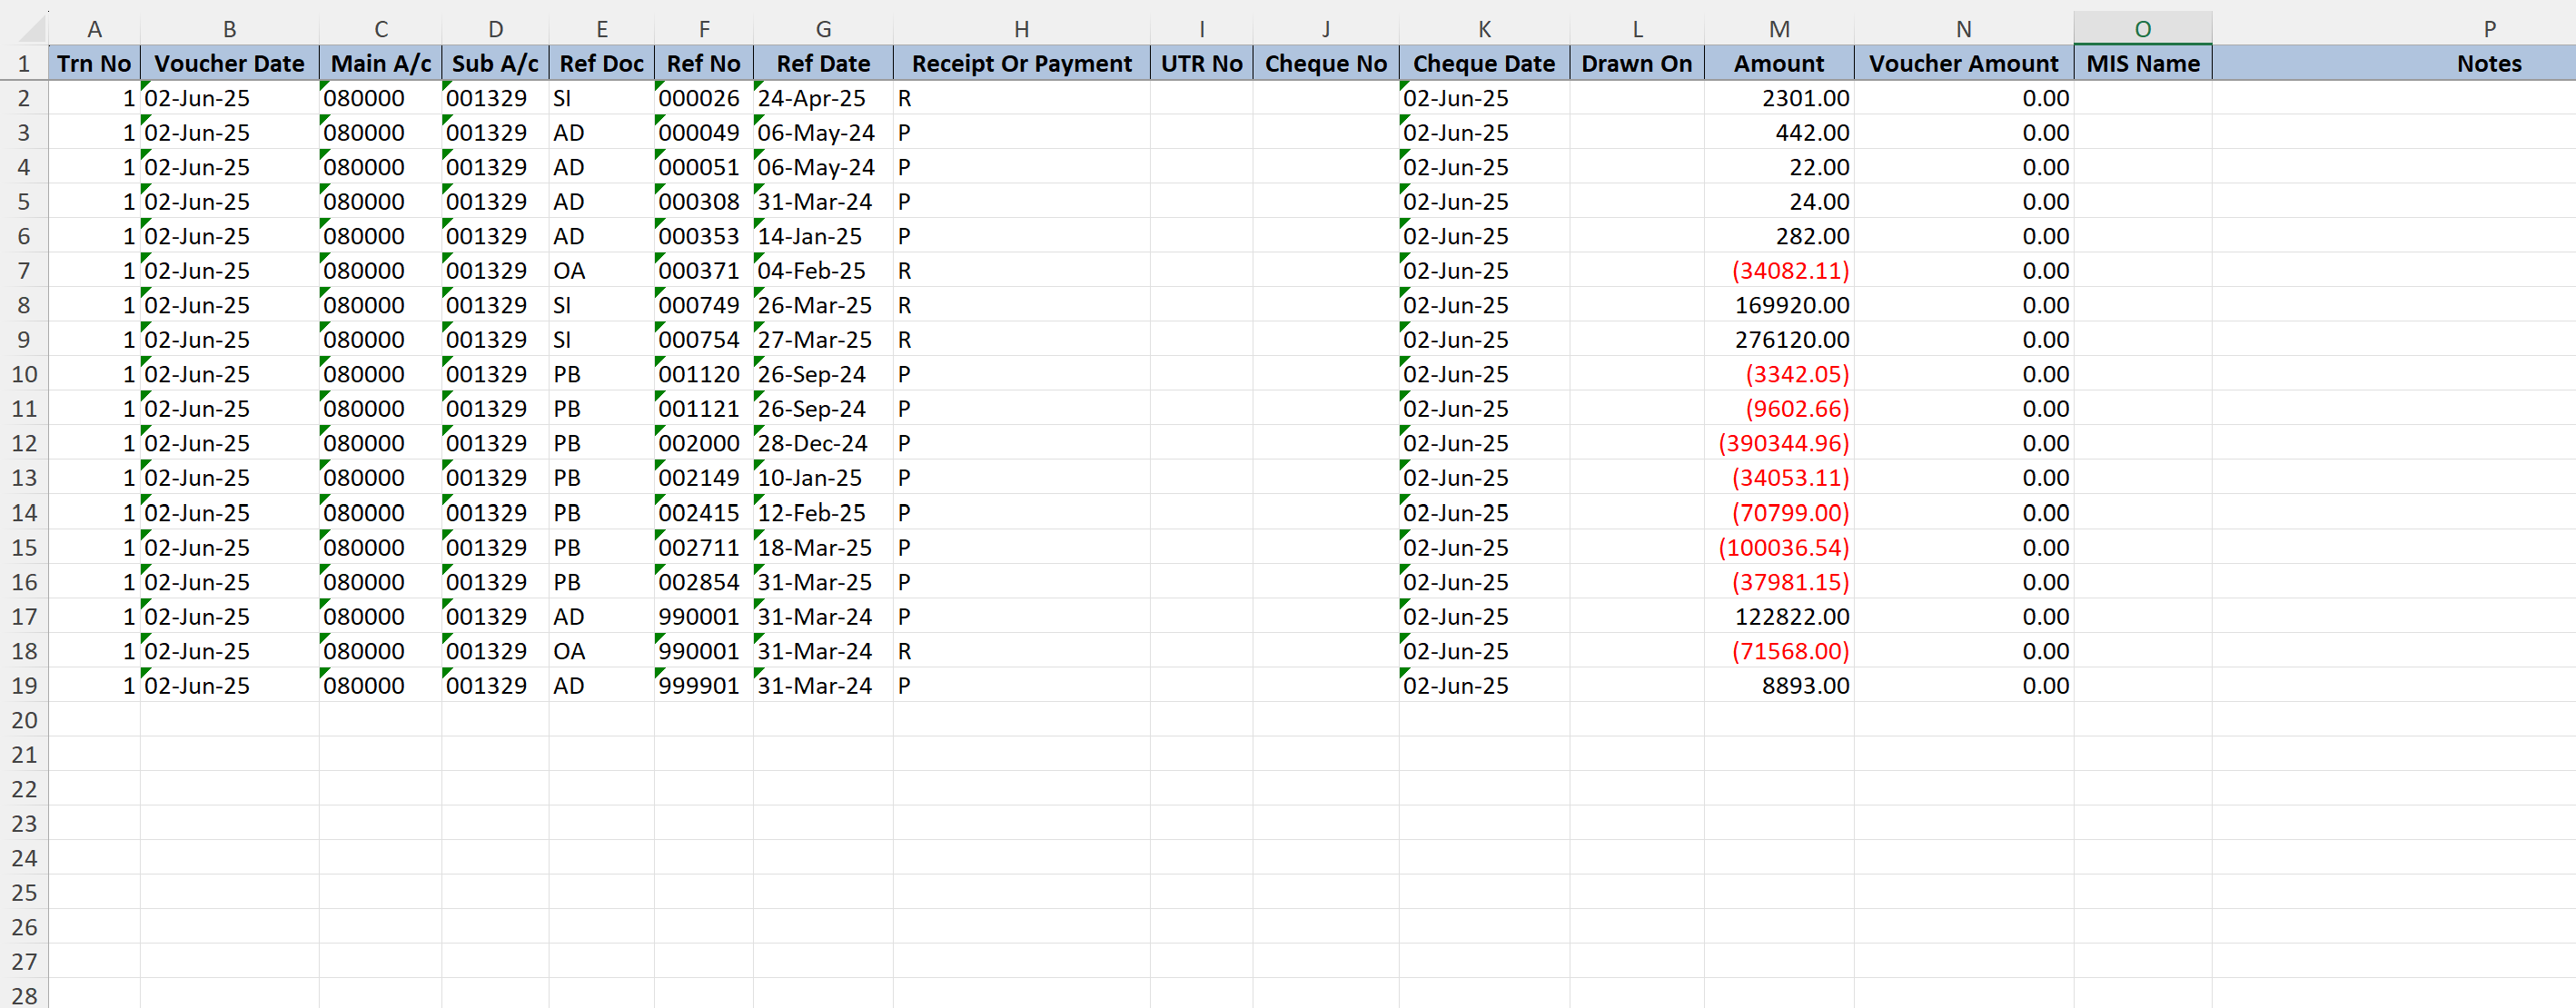
Step 7: Edit Template
- Open the downloaded Excel template and make necessary modifications:
Removing Unwanted Vouchers
-
Delete any rows for which you do not want to create a voucher.
Reversing Documents
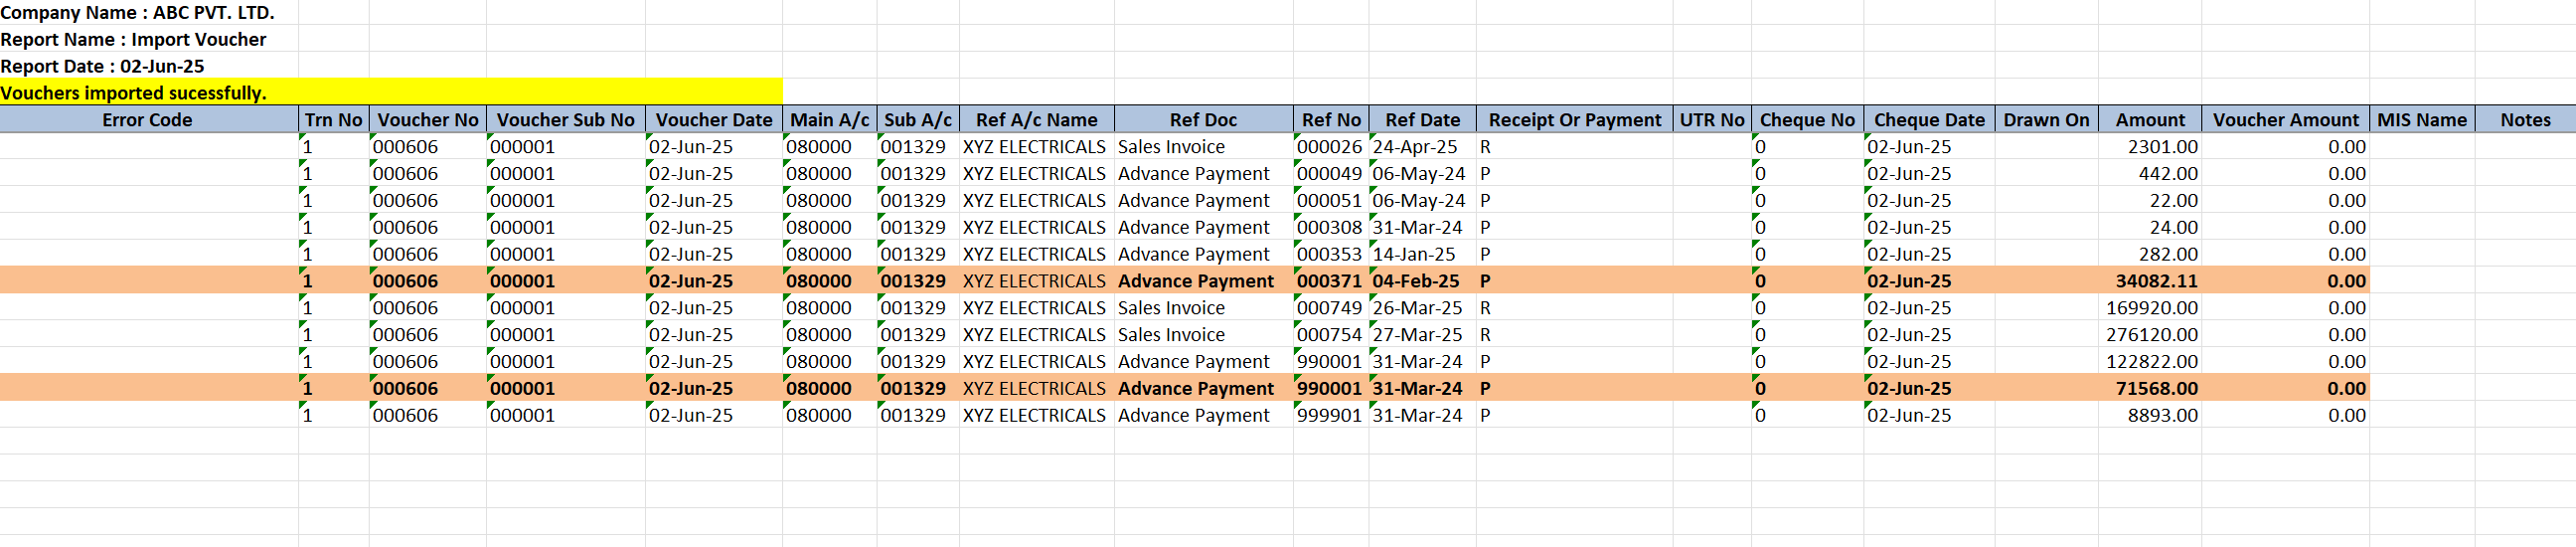
If the downloaded template contains negative amounts for OA or AD document types, the system will automatically process these as reversals during upload:
- Ref Doc: System automatically changes document type (e.g., from OA to AD)
- Voucher Type: System automatically changes voucher type (e.g., from R to P)
- Amount: System converts the negative amount to positive (e.g., from -22.00 to 22.00)
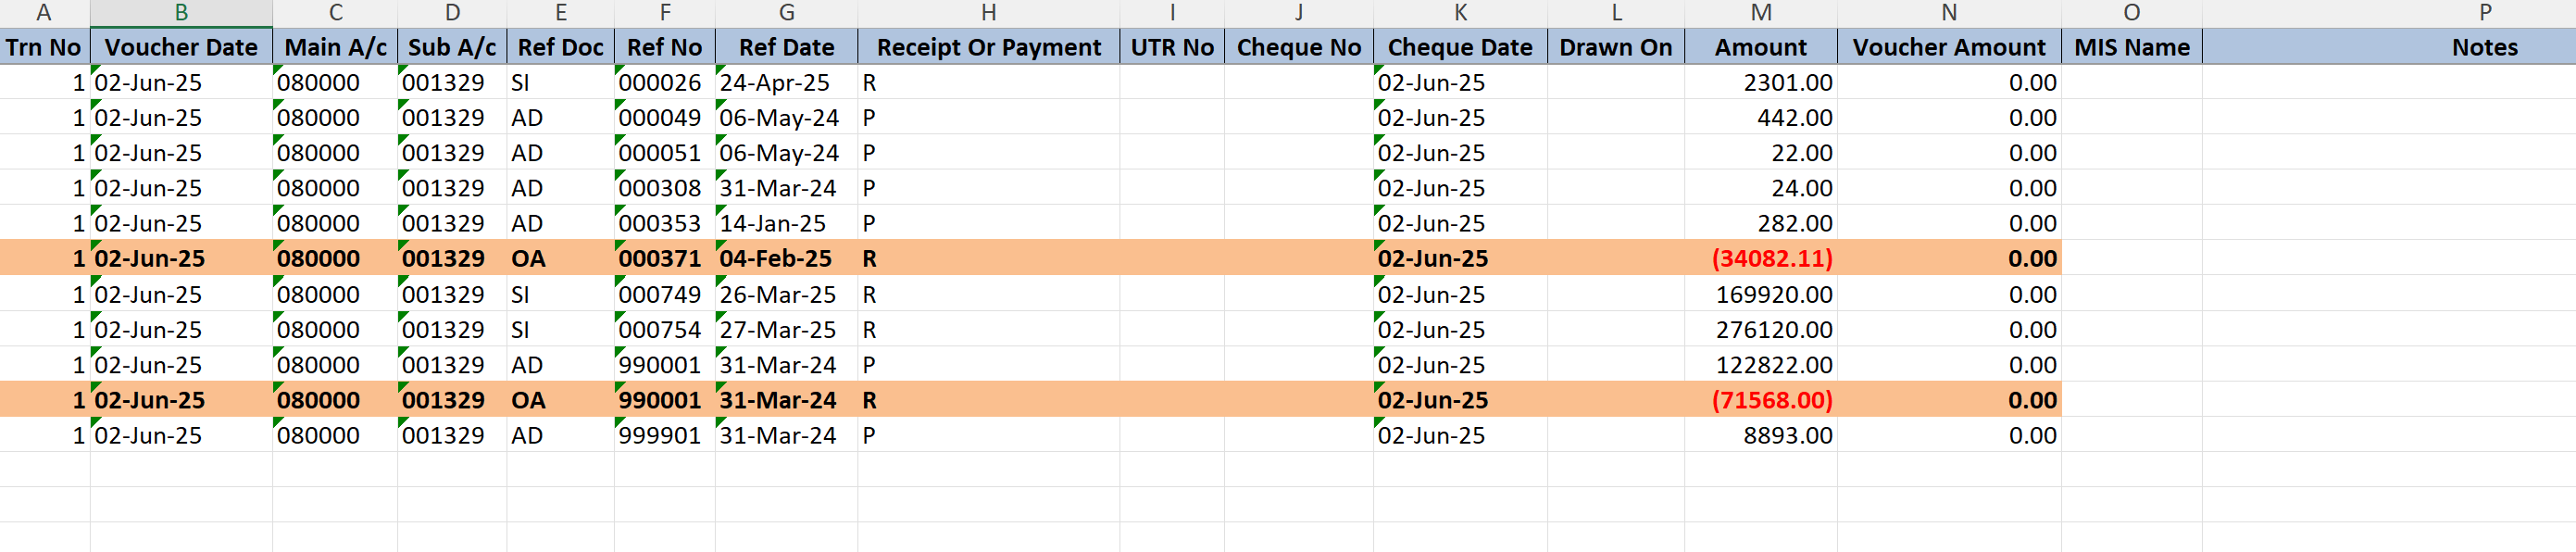
The example below shows how reference documents 000371 and 990001 are reversed:
Template Upload Process
Step 8: Upload Modified Template
-
After completing your changes:
- Change the Operation type to Upload
- Select the required fields:
- Division
- Bank
- Mode of Payment
- Attach the modified Excel template
- Click Submit

Step 9: Review Import Results
- Upon successful upload:
- If there are errors: The system will generate an Excel file showing the issues (similar to other upload processes)
- If successful: The voucher will be created in the system
Important Notes
- Template Accuracy: Ensure all data in the Excel template is accurate before uploading
- Error Handling: Review any error reports carefully and correct issues before re-uploading
- Data Validation: The system will validate all entries against existing records
- Backup: Keep a copy of your original template before making modifications
Troubleshooting
Common Issues:
- Upload Failures: Check file format and ensure all required fields are completed
- Validation Errors: Verify party names, dates, and amounts match system records
- Permission Issues: Ensure you have appropriate access rights for the selected division and bank
Support
If you encounter persistent issues, raise a support request or refer to the detailed error messages in the generated Excel reports.